If you want to do your own field measuring, we first need to cover a few basics. While not the most complicated, we recommend knowing what you are getting into beforehand.
What’s Field Measuring?
Field measuring is the process of taking measurements on the actual physical site. Going in with a tape measure and getting the sizes of the doors, walls, windows – well you get the idea.
You might be thinking, “But I have the building plans! I don’t need to do this!”
While the building plans are an excellent starting point for planning, they generally can’t be relied on for precise measurements. In fact, you might be surprised how vastly different a finished structure can be compared to the original plans.
How to Do Your Own Field Measuring:
A Few Tips
Site Check for Wall Covering
How To Measure a Wall
First, take down the overall height and width measurements. When measuring the height, we recommend measuring in three different spots – left side, center, and right side. Sometimes a crooked ceiling will mean that the wall height varies as much as a few inches in different areas.
Light Switches, Fire Alarms, and Outlets – Oh My!
Your wall might be a little more crowded than you first noticed. Light switches, windows, outlets, fire alarms and lights are all common permanent fixtures on a wall. Take measurements of the size and placement of all of these to include on the elevation. Although these generally don’t cause installation problems (they’re easily cut around), they might block important sections of the art. Best to find out early before you install your wall covering to discover a light switch in the middle of someone’s face.
This doesn’t necessarily just mean permanent objects on the wall. Is there any furniture you’re keeping against the wall? Something easily moved for install may nevertheless block crucial parts of the graphics. Take note of these measurements in case you need to adjust the art so everything important is visible.
P.S. Don’t forget to measure the baseboard at the foot of the wall!
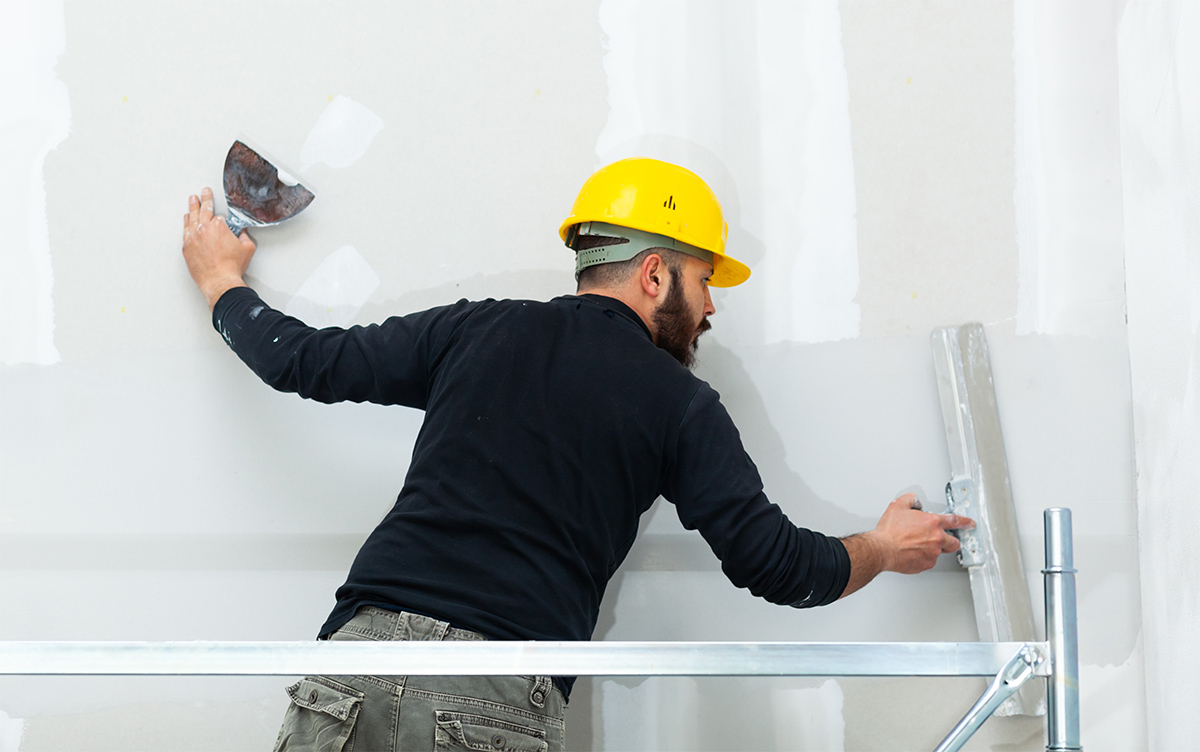
Is It Level 5? And Does That Really Matter?
Usually, when installing wall covering you’ll be told to make sure the wall is Level 5. But what does that mean? Level 5 is the absolute smoothest level of finish a wall can be. Zero bumps, no texture. Lovely.
Is your wall level 5? Probably not. Level 5 walls are time-consuming and expensive to construct – not to mention mostly unnecessary. Don’t worry! You’re (probably) not doomed to an expensive refinishing of the wall. Most office walls are Level 3 or 4 – imperfect, but mostly smooth and totally ok for wall covering installation.
But take a moment to check if it’s not too thickly textured in case you do need to plan to reskim the surface.
Site Check for Glass Film
Measuring
Just the height and width of the glass, right? Well, it’s almost that simple.
While film can’t be installed on it, it’s always a good idea to get the measurements of the framing the glass is in. This is especially important if you are installing film with custom graphics, so that the layout of the imagery accounts for the gap of the frame between two pieces of glass.
Besides the frame, it’s good to make note of anything affixed to the glass. This could include door handles, signage, or key code door locks.
Checking for Damaged Glass or Existing Film
While taking measurements, take a close look at the glass to see if it’s clear and ready for installation of new material. Is there existing decorative glass film that needs to be removed? Are there cracks or any other damage on the glass that might make installation difficult?
Keep an Eye Out for Potentially Difficult Installations
Film might be just a few millimeters thick, but the installers putting it up need a bit more space. Keep an eye out for anything that might make installation difficult. Furniture or equipment can usually easily be moved temporarily, but are there columns or other permanent structures that block access to parts of the glass? Make note of anything you think could cause problems to discuss with your film provider beforehand. They can ensure they have any extra necessary tools to complete the installation successfully, or work with you to find an alternative solution that will install correctly.
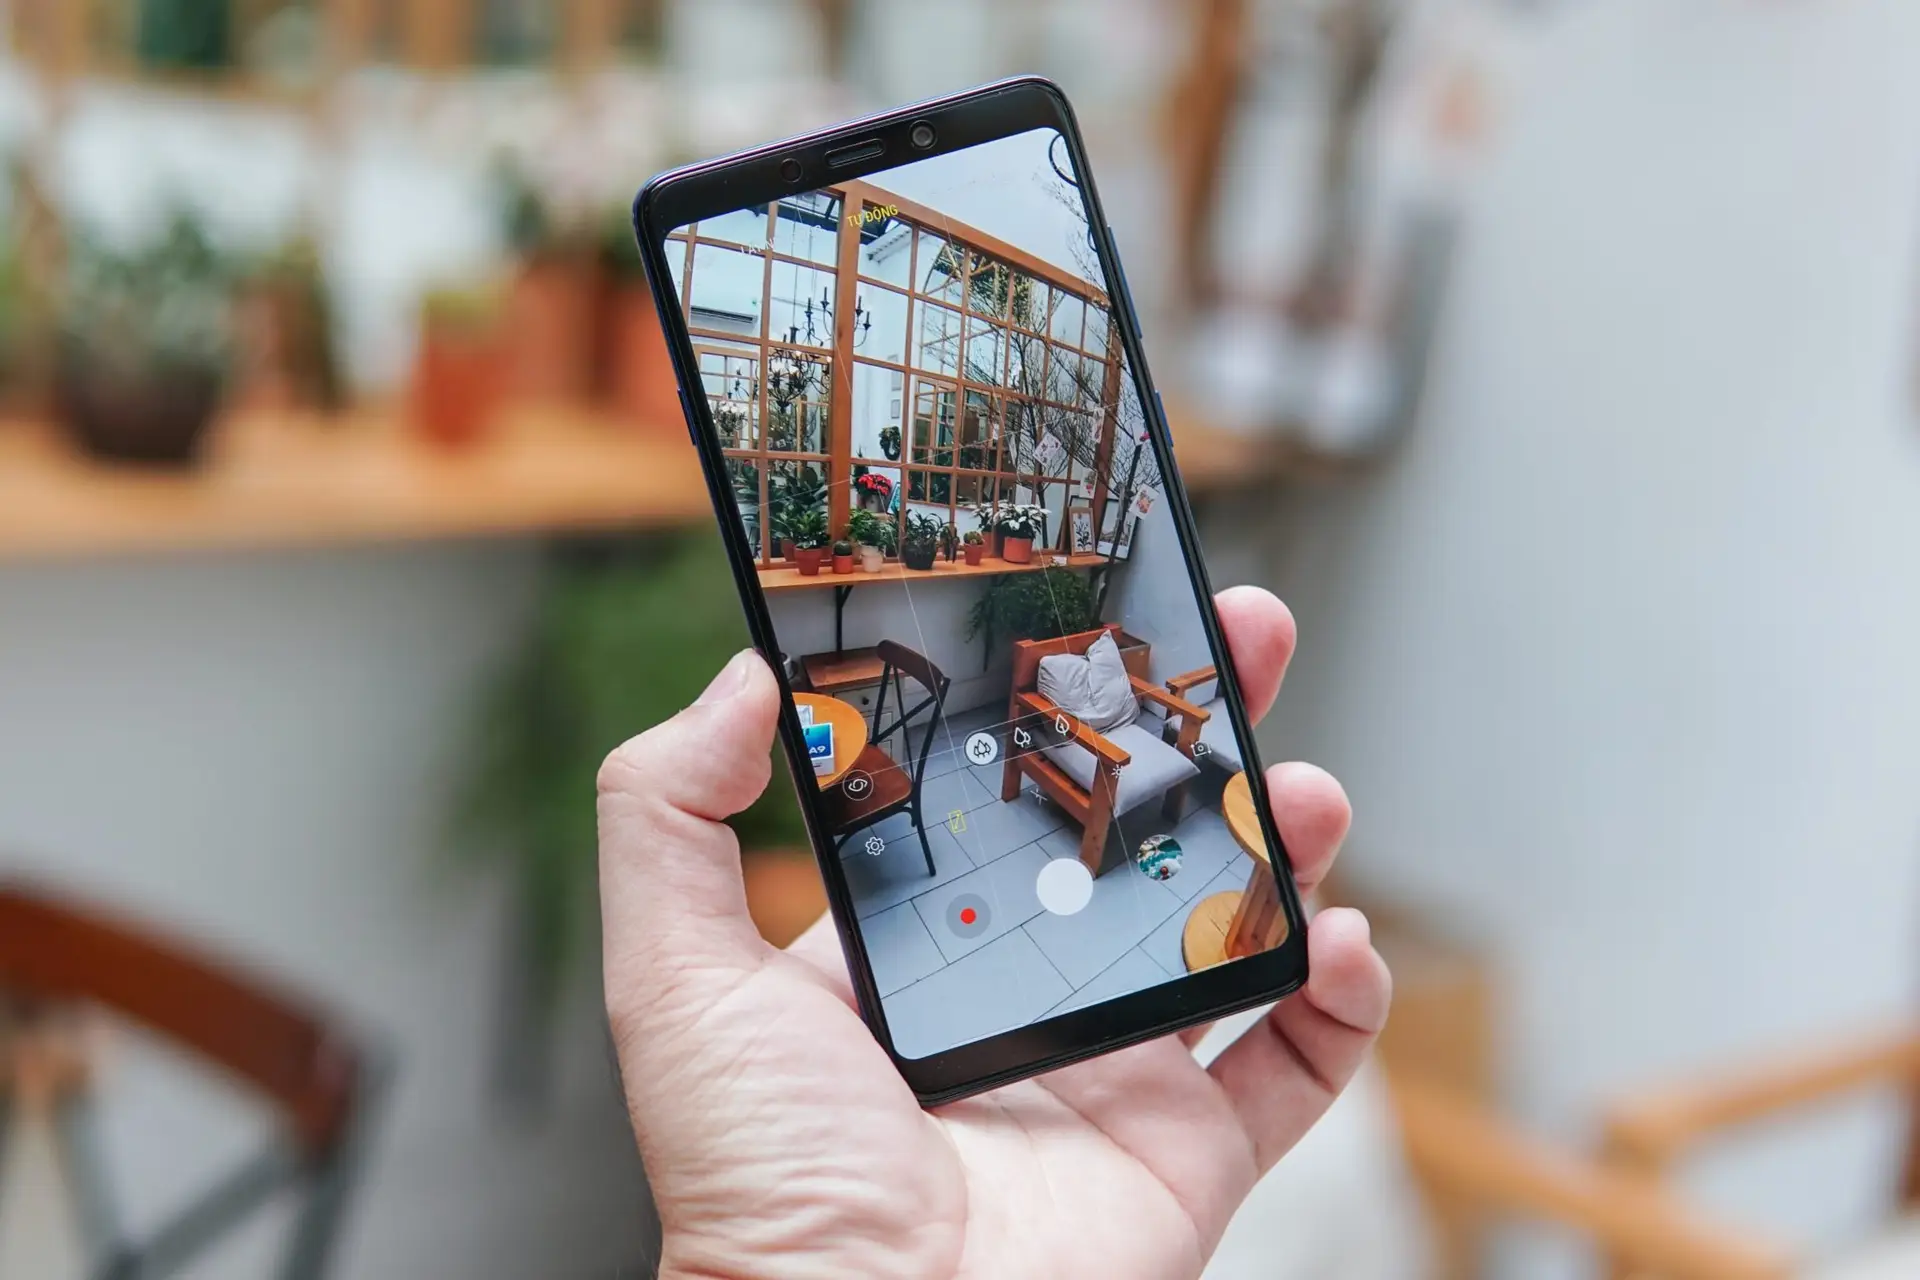
A Picture Is Worth a Thousand Words!
No matter how diligent and precise you are with measuring, a photo is always going to be invaluable. Please take a photo of all the walls or glass that is going to get material installed. If you noticed any potential problems in your measuring (damaged glass, tight spots for installation, etc.), take close-up photos so that your custom surface film supplier can take a look and give advice on how to address it.


No Comments